Photo Gallery
Please click on a thumbnail for a full size photo.

Photo Credit: Jenny Mayher
|

Photo Credit: Jenny Mayher
|
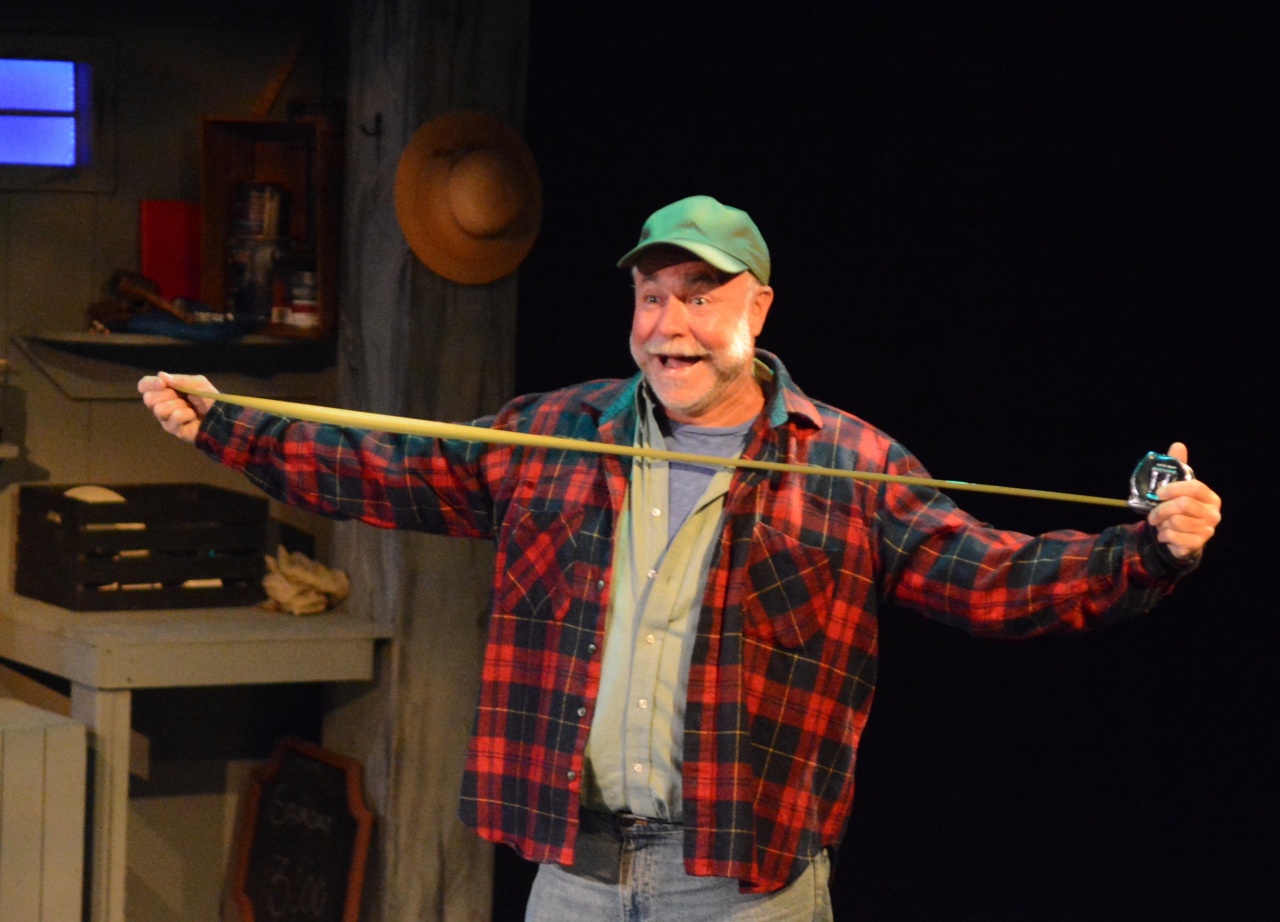
Photo Credit: Jenny Mayher
|

Photo Credit: Jenny Mayher
|

Photo Credit: Jenny Mayher
|

Photo Credit: Jenny Mayher
|

Photo Credit: Jenny Mayher
|
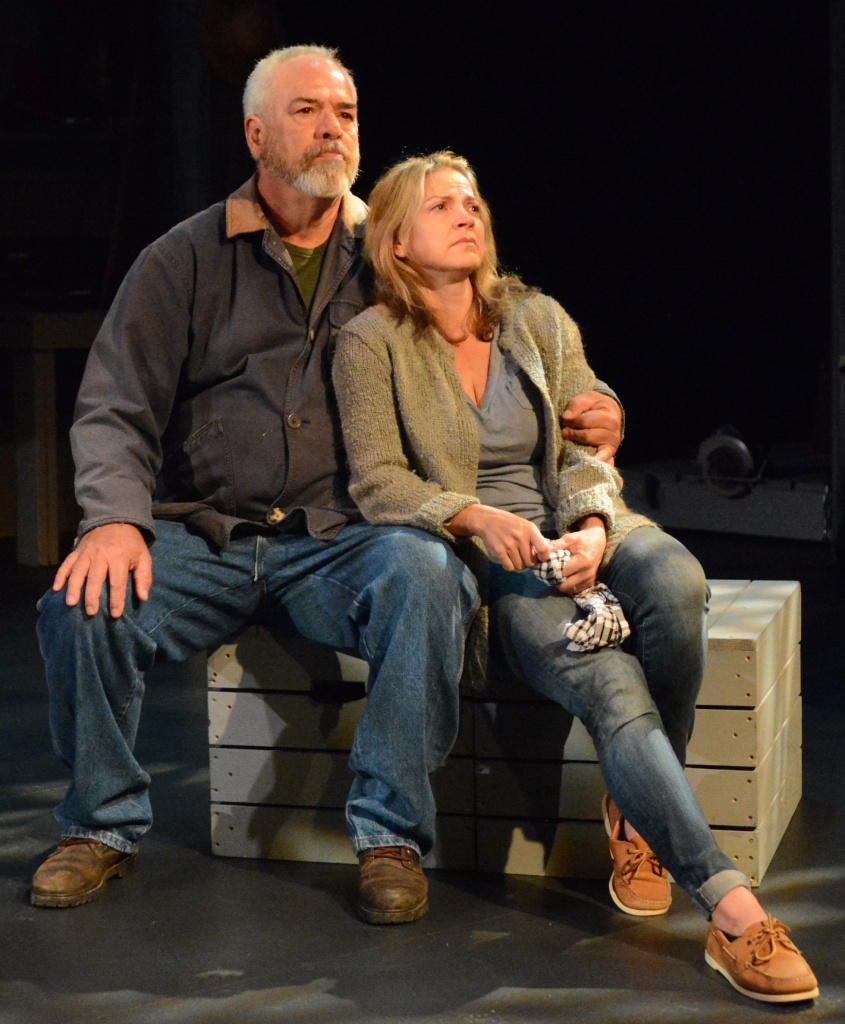
Photo Credit: Jenny Mayher
|

Photo Credit: Jenny Mayher
|


STUDENT TICKET
SPONSORS
